Stress Testing and Particle Optimisation

The game is running slow in parts, so I need to look at my fx and see where I can speed up the frame rate. The rift slows things down a bit, so I’m going to do optimisation in two stages, one for monitor and one for rift.

Monitor Stress Test

Water Real

Has already had some optimisation done. Uses fixed bounds and has lower spawn rate. Works fine but the visual impact has been reduced greatly, a shame since the fx is supposed to be the forefront of the game. Will experiment with improving this. Frame = 100

Game = 16

Draw = 100

GPU = 100

Water Abstract

Same as realistic. Can notice jumps in frame rate when passing underneath fx though. May leave this as is and see.

Frame = 100

Game = 12

Draw = 100

GPU = 100

Nature Real

Runs very smoothly. No issue at all.

Frame = 16

Game = 9

Draw = 16

GPU = 16

Nature Abstract

Runs very smoothly. No issue at all. Go nature rooms!

Frame = 10

Game = 8

Draw = 10

GPU = 10

Fire Real

Frame rate drops considerably, messes with sound and ability to move. Incredibly jarring. Needs fixed. Frame = 250 Game = 12 Draw = 250 GPU = 250 Fire Abstract A tad slow, noticeable to me but perhaps not to players. Will leave for now and see if anyone notices. Frame = 113 Game = 12 Draw = 113 GPU = 113

Monitor Optimisation

Realistic Fire

First issue here is that there are too many fx visible at once. I took out the first ones to allow the player to at least get orientated before the game starts chugging! Didn’t improve anything when near the fx, but better on entry.

Second thing was adding fixed relative bounds, so the particles only draw when they can be seen. This took me down to about 200 for frame.

I then halfed the spawn rate of all emitters, coming down to about 150, and removed the second smoke emitter, coming down to 100.

Realistic Water

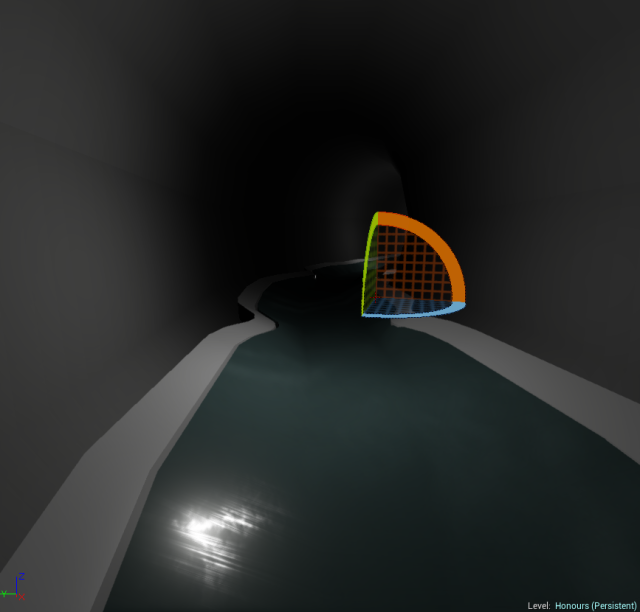
I read on the unreal documentation that material complexity was an issue for particle optimization, so took out the roughness, refraction and metallic of the water material, as it didn’t seem to be having much effect anyway – it didn’t look anywhere near as good as in the first prototype. Its running at around 100 now too.

Essentially the game is now running at a consistent 15fps. Too low I know, but at least its consistent.

Wee Fixes

Today’s a bit of an odd day – working on fixes and optimisation for the game, so seemingly getting very little done even though its important!

I’ve fixed some awkward places where the meshes meet, and fixed some z-fighting and uv issues on the corridors by getting rid of the outer set of polys.

Game Ending

I wanted something to happen at the end of the game, to show the player they’d completed it and to provide a nice exit point. I looked to proteus and flower for inspiration, noting the circular particles that form in proteus and the ribbon trails on the tree in flower’s first level.
tree9 tree11

I did the code first and ran into a few mistakes along the way. I tried IsValid first, the idea being that I would check to see if the orbs existed and if so, create the fx. This didn’t work, so I tried a branch with an IsValid condition. What I learned by hooking this up to a key press and testing it, is that the object is always valid, regardless of weather or not it is visible.

Tree1

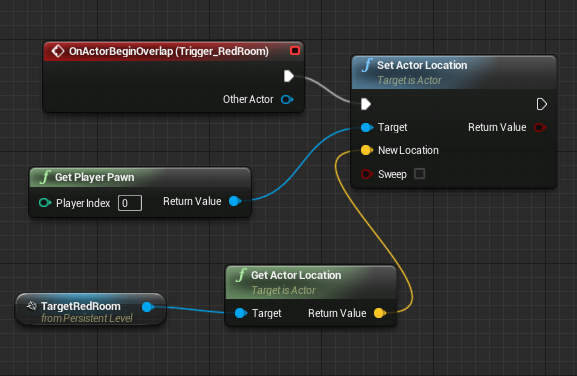
As an alternative, I decided to use a hidden variable that would “score” the player and assign a point for each room completed. When the count reaches 3, the fx would appear. This wasn’t too hard to set up – I created a float variable,

Tree3

I connected this to a branch and audiocomponent to test, and it worked.

Tree4

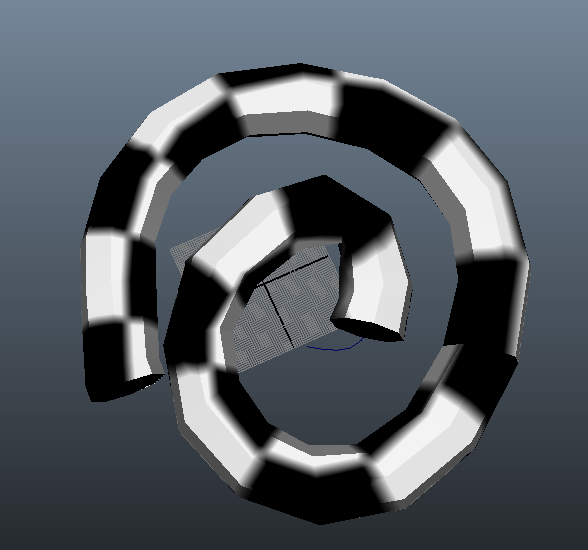
Then I needed some artwork to connect to it! I created a sort of fake ribbon by creating a curve in maya, extuding some polygons around it, and doing a planar map for the whole thing. This means that I can pan a material up it to give a ribbon like effect. I used this technique in Seek to create the cutscene and have had a lot of good feedback on it.

tree8

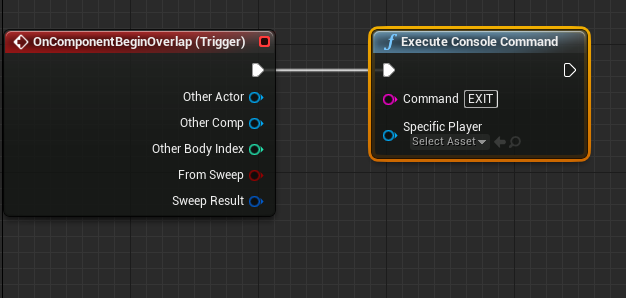
I also added some shiney dust particles and a trigger box, that when overlapped by the actor, ends the game.

Itree7 tree6

The effect itself is very simple right now and was sort of created as a placeholder last night when I was far too sleepy to be creative. If I can get the optimization and bug fixes done before the end of today I’ll work on making it much better.

Portal FX

portals1

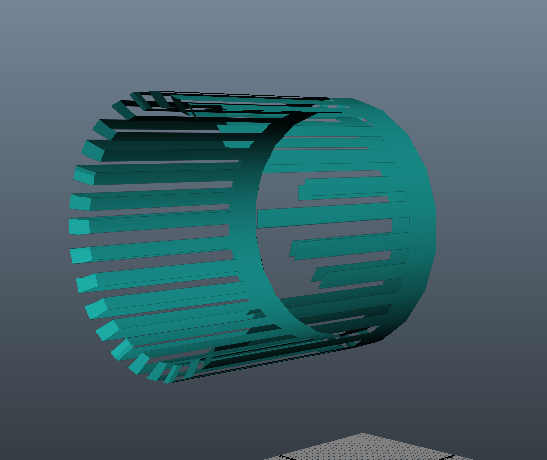
I thought the hub room needed something to indicate which rooms the player had been though, so created a sort of glowy portal that dissapears after that corridor has been traversed. As I’ve been having optimization issues with some particle fx, I decided to do this as a material. I created a cylinder without end faces, and made a sort of striped texture.

portals2

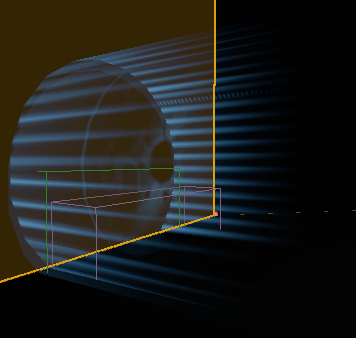
In the material editor, I panned this to add some dynamic movment, and multiplied a gradient with the opacity to make it appear more magical.

portals3

portals5

I then had this flash in and out to give a sort of pulse effect. Multiplying the emissive by a cosine wave did this, but I had the issue that when it wasn’t there it would go black, which was very obvious.

portals6

To fix this, I added the pulse to the opacity instead of the emissive.

portals4

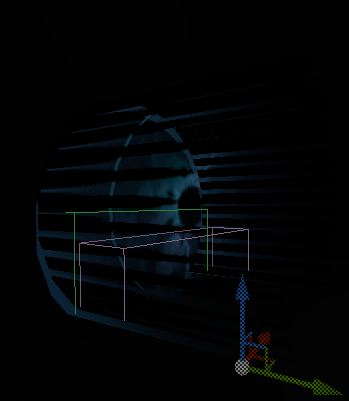
I then added another cylinder underneath, with a low opacity emissive to act as a sort of fake light.

portals7 portals8 portals9

The code was quite simple, I had to search around a bit to find destory actor, but once I found it it was simple to add it to the end of the orb code.

portals10

I think these colour coded fx add to the idea that each room is different, which is great, and give visual cues to the player to move on to the next portal.

Tweaks

After finishing the main bulk of the work on the prototype, I made a couple of tweaks to get the experience right. I did some more informal testing, and was advised to slow down the walk speed to allow the player to look around and take in their surroundings. At first I halved the movement, but found that while this was great in the corridors, it made the hub feel way to big, so upped it slightly as a compromise. I also removed jump and fire, as they are unnecessary.

Set Dressing and Materials

Sorry for being so quiet on here lately, I’ve been getting on with set dressing for the game and sort of ignoring everything else.

Water Corridor

I blogged about my models and ideas in the last post, so I’ll start of with the materials for the water corridor. I started out trying to do a high to low poly normal map here, but as the model is a large and awkward shape, with uvs to match, it turned out very low res and just looked awful.

materials1

Instead I hopped on to cgtextures and used a combination of images, as well as adjustment layers and the NVIDIA normal map tools to create my textures. They are pretty basic and lacking in terms of detail and attention, but right now their purpose is to give context to the fx art, which is the centerpiece, rather than be good in their own right, so I’m not too worried. Clearly, in my actual honours project, I will have much more polished models and textures if I go down a route that needs them.

materials2

I created the bottom half, used this to generate a collision mesh, then added the top half by mirroring. I then played around with different methods for pouring the water, trying curved spouts, small blocks and eventually settling for these square archways. I’m interested to see how these are reacted to – squares are generally firm and reliable, so I wonder how this will change the experience.

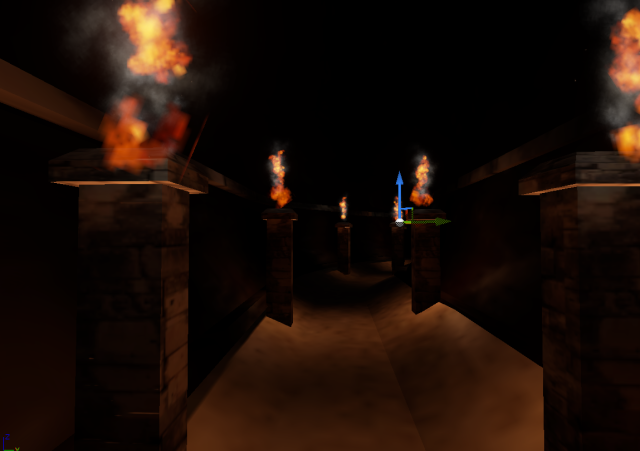
After that I added my previous candle meshes to the scene, with their fx, and added appropriate lighting. I played around with colours a lot before settling – I had originally intended a blue to match the scene and create positive vibes, but greens and blues made the room feel very cold. In response, I changed this to a red, hoping that this would feel homely rather than sinister as I focused on a yellow tint rather than a pillar box type of red.

Materials4

materials3

Abstract Corridor

Adding the fx

Nature Corridor

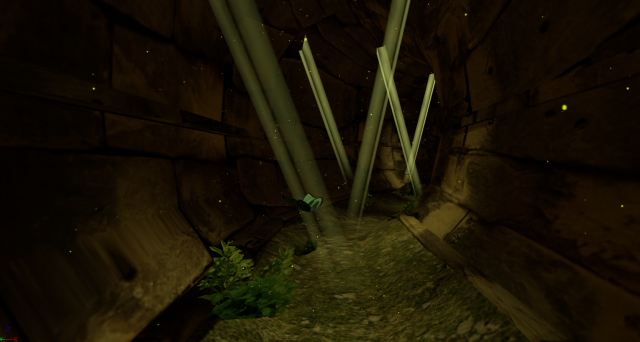
The nature corridor was simpler than the water one, as, being sort-of outside, it didn’t need any additional models. I wanted to have a sort of overgrown old building feel to this one. I used the same texture pipeline as before.

materials5

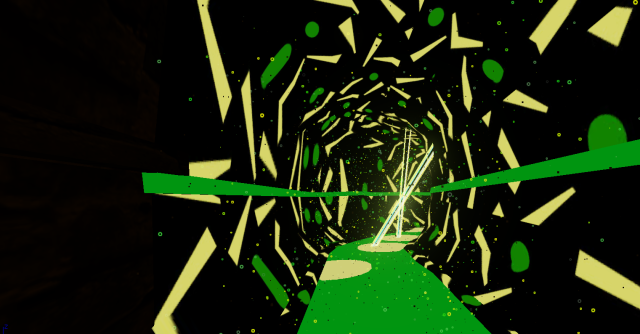
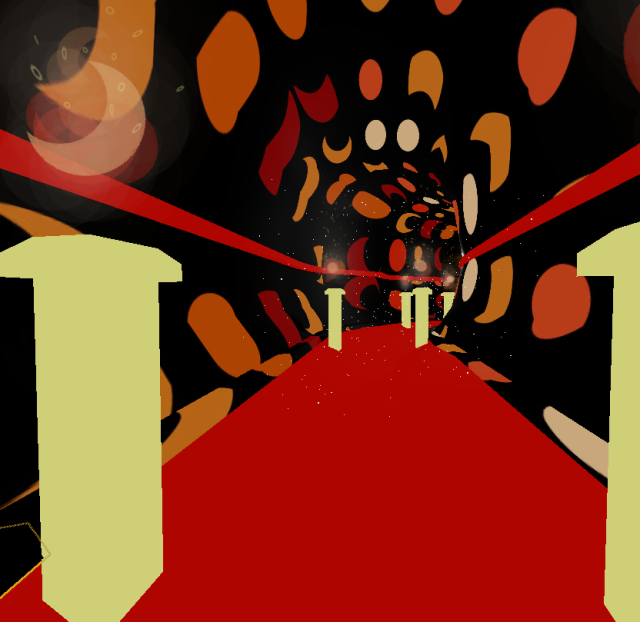
For the abstract side of things I again used basic shapes and emissive materials, this time drawing from the godrays and dust for shapes. I wonder if the triangular shapes will made the player feel less relaxed. I had originally wanted to remove them as research points to this, but I want to test it myself because after playing I have an incling that this might not be the case.

materials7

I then created some foliage out of photos and planes, there’s issues with the join between the grass and the plane but again, environment art is not the focus here so it can be changed at the end if there is time. I really like how everything came together here. I went for a yellow lighting scheme to match with the godrays.

materials8 materials9

Fire Corridor

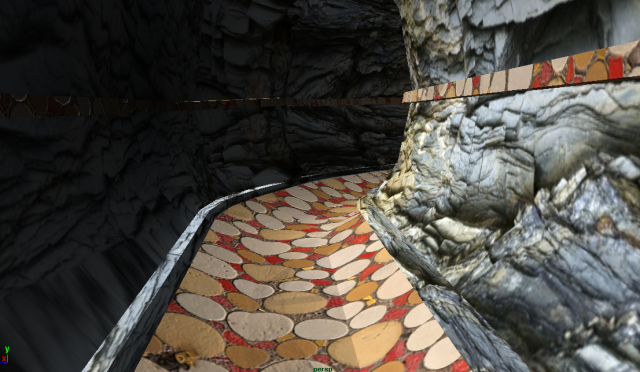
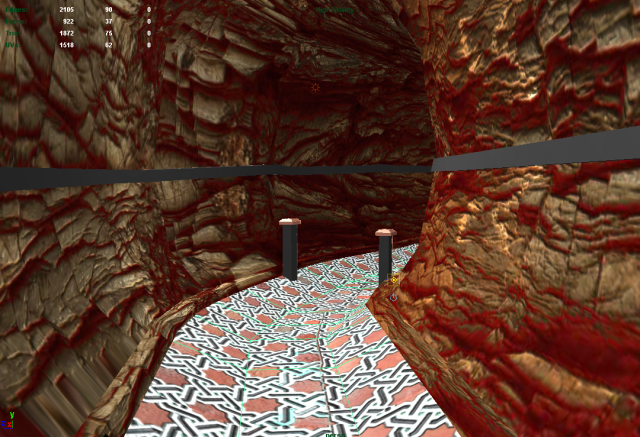
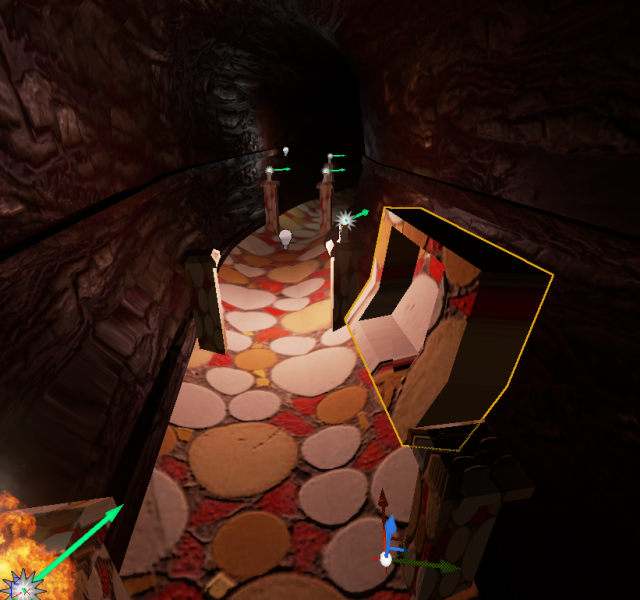
For the fire corridor I wanted to create a sort of Morocco meets Volcano look .

Fire mood

I really struggled to get the textures right for this one.

materials10 materials13 materials15 materials16 materirals11 matierals14

materials17 materials12

Corridors Revisited

Thanks to a TRASHCLASS error when saving the map (my blueprints were pointing to external references that no longer existed) I lost a lot of the work I did yesterday. Thankfully, the blueprints were easy enough to reproduce, but it got me thinking about my corridors, and how I was going about them wrong.

sketches

I wasn’t working modularly for a start, which is really bad game art practice. It also meant that changing scale was going to be very difficult. I did some doodles of what I would like my corridors to look like, and I think I want the realistic part of the corridors to be reminiscent of an actual space, rather than just element themed.

Moodboard

moodboard 2

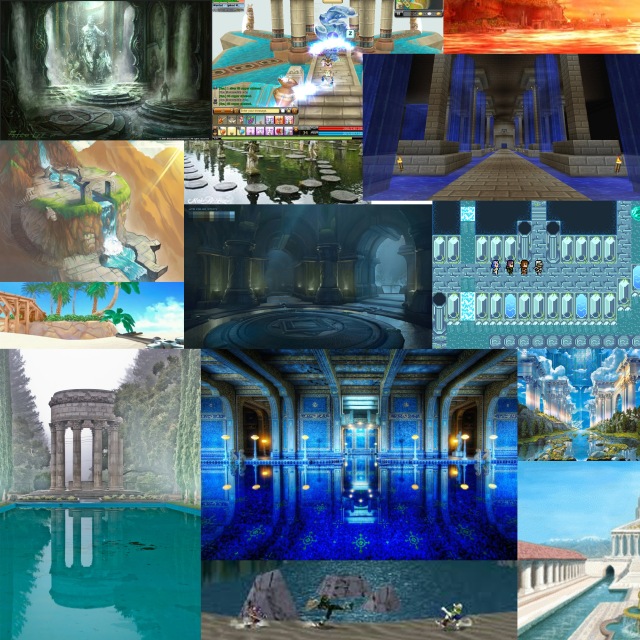
For the water corridor, I looked at some water themed levels in various games, and then decided what I liked about them. Bright blues, roman architecture, stepping stones, shaped waterways and overgrown plants were really coming out at me, so I’ll create something along those lines for the water one.

corridor5

Modelling wise, I created an arch like shape that can be joined together to create a spiral or curve. I then mirrored it in y to get the roof.

corridor6

I reconnected my targets and triggers and got a level that’s much nicer than before!

corridor7

Finishing up the Hub Room

I started off working on the hub room by creating my glowing orb and tree models.

hub1

The orb was simple. just an extruded sphere with a frosted glass material (low roughness value + clouds texture) and an emissive one.

hub2

The tree was created by drawing splines from my reference picture and extruding cylinders along them.

hub3

I made some tweaks to the trunk to make it seem like an old, gnarled tree.

hub4

And then started combining the branches. This got a bit difficult, as I gave gotten very used to working low poly, and I haven’t modeled in a while. It could have been cleaner, and I had a few normal issues, but as I am using it with an emissive material, I felt correcting it wasn’t a good use of my time.

hub6

hub7

This is what it looked like with the three orb colours in editor. Really happy with this – it has that magical/spirtual quality that I was after.

hub8

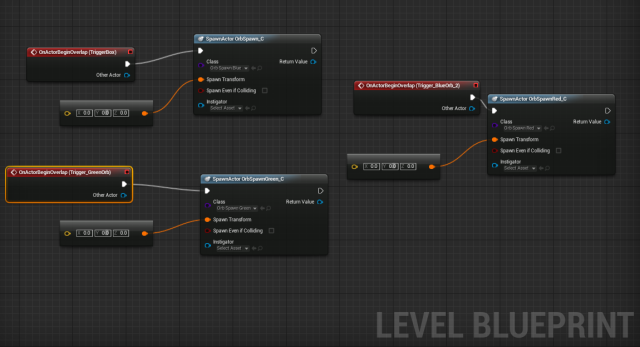
After that I set up the blueprints for the orbs. The idea is that upon reaching the end of each corridor, the player lights up one third of the tree. I started this by using add static mesh, which worked, but only one. It couldn’t spawn more than one mesh, not matter where, what or by which key press/trigger.

hub9

I added some prints and delays to try and work out what the issue was, and found that it wasn’t getting stuck at the spawn, it thought it was able to do it.

hub10

I had a look at the actor referencing guide on the UE4 documentation, and found that they used spawn actor from blueprint. This worked, and could do so more than once.

hub11

So I set up a blueprint for each orb set. This worked, but had the actors spawning in the wrong place. It turns out that the transforms of root components changed in the blueprint won’t be used when called in another blueprint. I used the roots as dummies, and attached new meshes that could be called. I set up my transforms in the actor blueprints.

hub12 hub13 HUB14

This is working really nicely, and I’m looking forward to seeing how it feels when the prototype is completed.